Generate project documentation
 General requirements for generating the project documentation
- You have started an installed Eplan solution or opened a browser.
- You have signed in to Eplan Cloud.
- You have signed into an organization.
- You have opened the Project Builder.
Prerequisites for the generation of a 3D view
The functionality for generating a 3D view and the Layout Space Typicals area are currently not available yet.
- You have started Eplan Electric P8 with the add-on for Eplan Pro Panel (Version 2027) or Eplan Pro Panel (Version 2027).
- You have signed in to Eplan Cloud.
- You have signed into an organization.
- You have opened the Project Builder.
- In the Project Builder you have access to a library or a configurator with Layout Space Typicals prepared for this purpose. The macro in the Layout Space Typical contains exactly one enclosure or a mounting panel as well as at least one mounting rail. Function definitions are assigned to the contained mounting rails. Further information is available here.
Note
The data of the 2D schematic must exist in the generated target project so that a 3D view can be generated. The 2D schematic must contain parts with part numbers that exist in the set parts database of the installed Eplan solution. In addition, a 3D graphical macro or external dimensions (length, width, height) must be stored in the parts data.
Select library
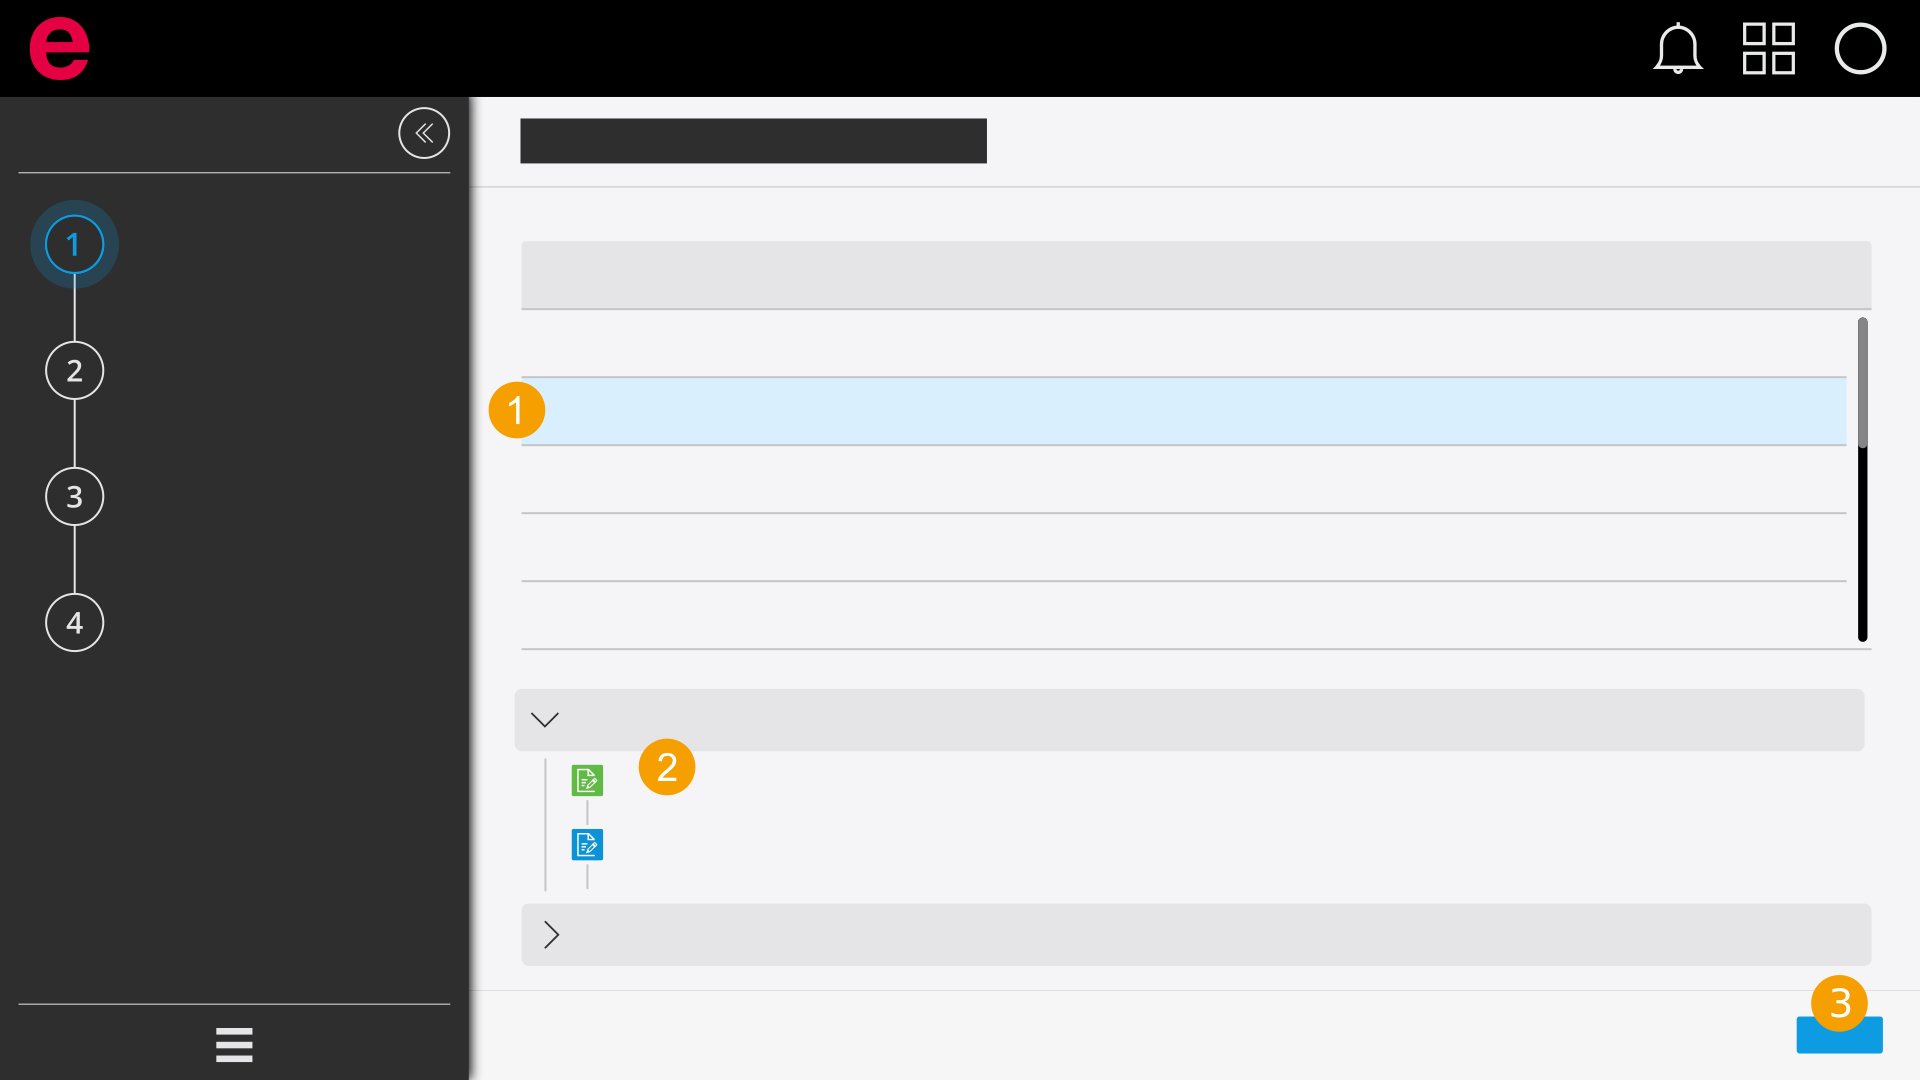
- Select a library in the selection area.
- Select a version.
- Click Continue in the navigation bar.
Users with the "Designer" role see all published and unpublished versions and the editing version of a library. Users with the "User" role only see the published versions of a library.
The description provides useful information about the library.
Select project
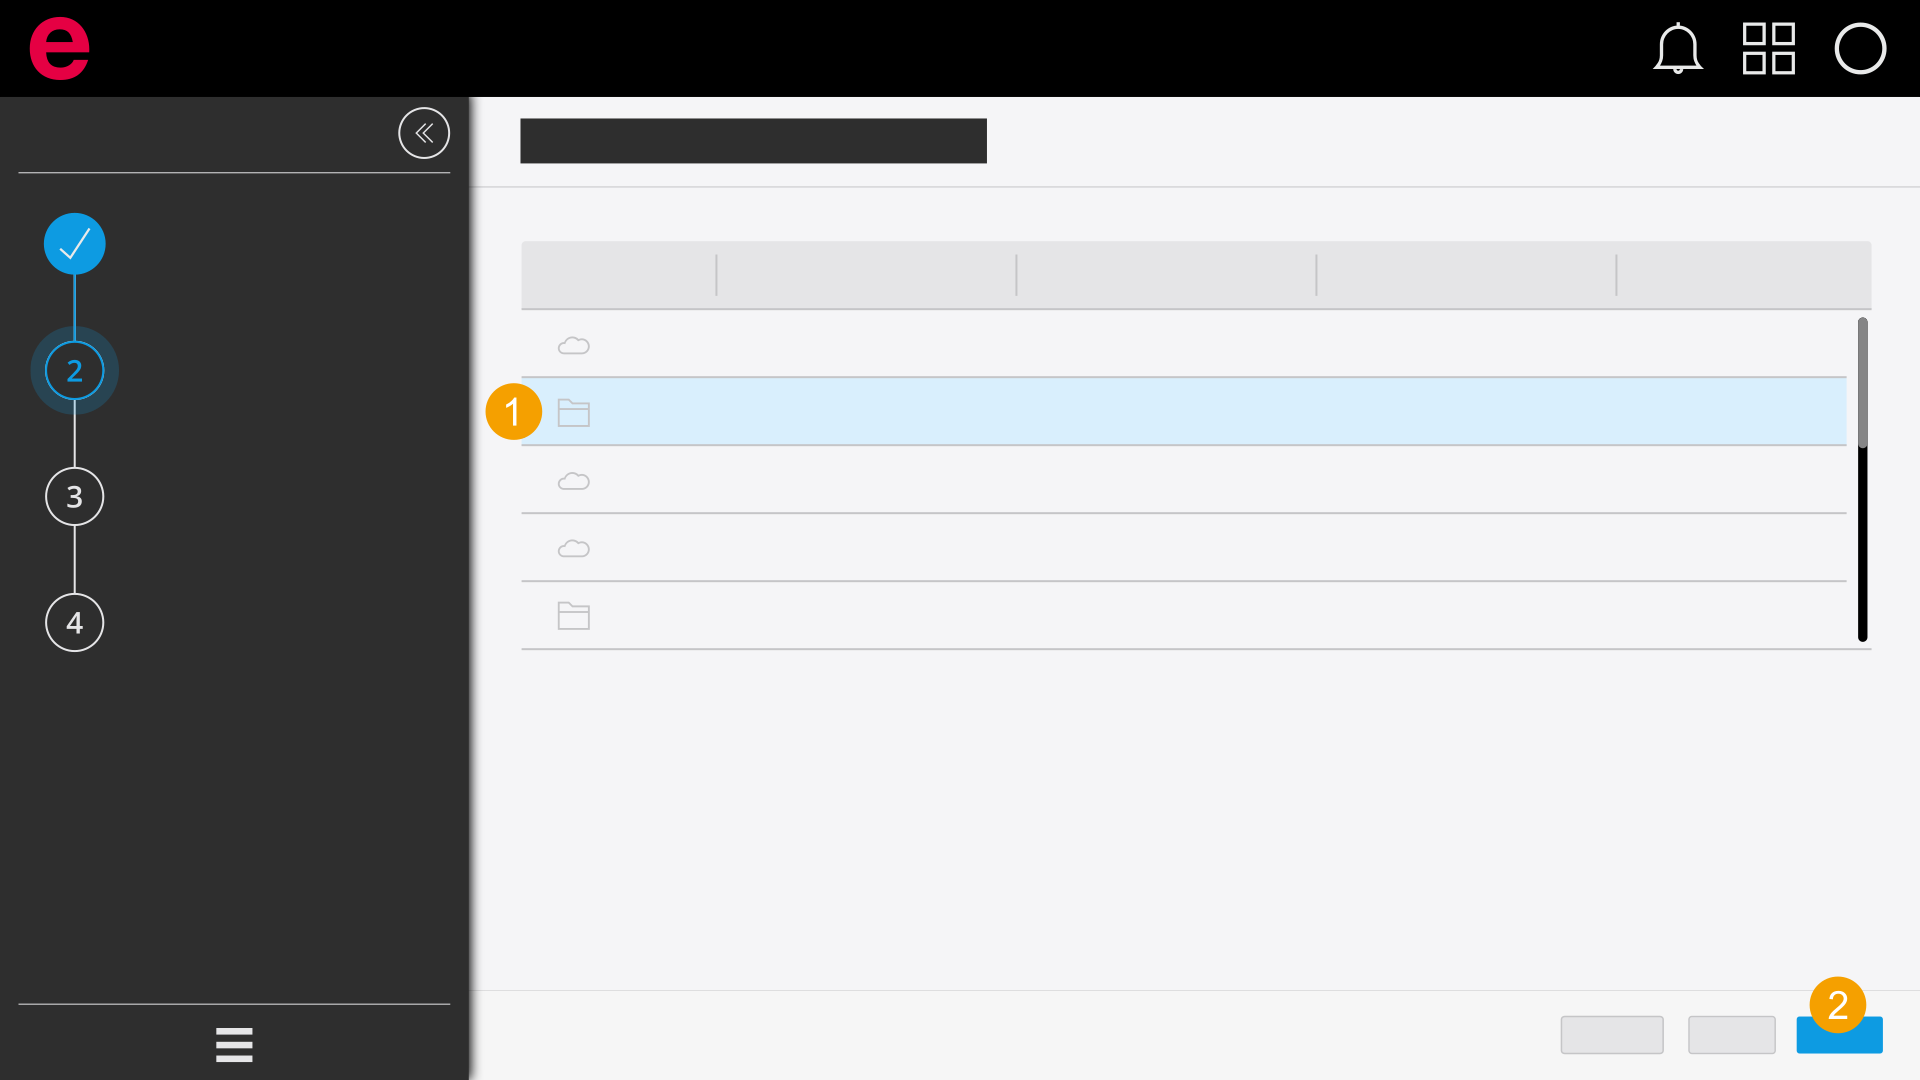
- Select a project in the selection area.
- Click Continue in the navigation bar.
You can also create a new project. The button Create new project is available for this purpose.
If you open the Project Builder via a browser, you can select of create cloud projects  . If you open the Project Builder within Eplan Electric P8, you can also select or create local projects
  .
.
Note
When you create a new project, you must specify a project name and select a template. Templates for cloud projects can be uploaded as basic projects (
Select configurator
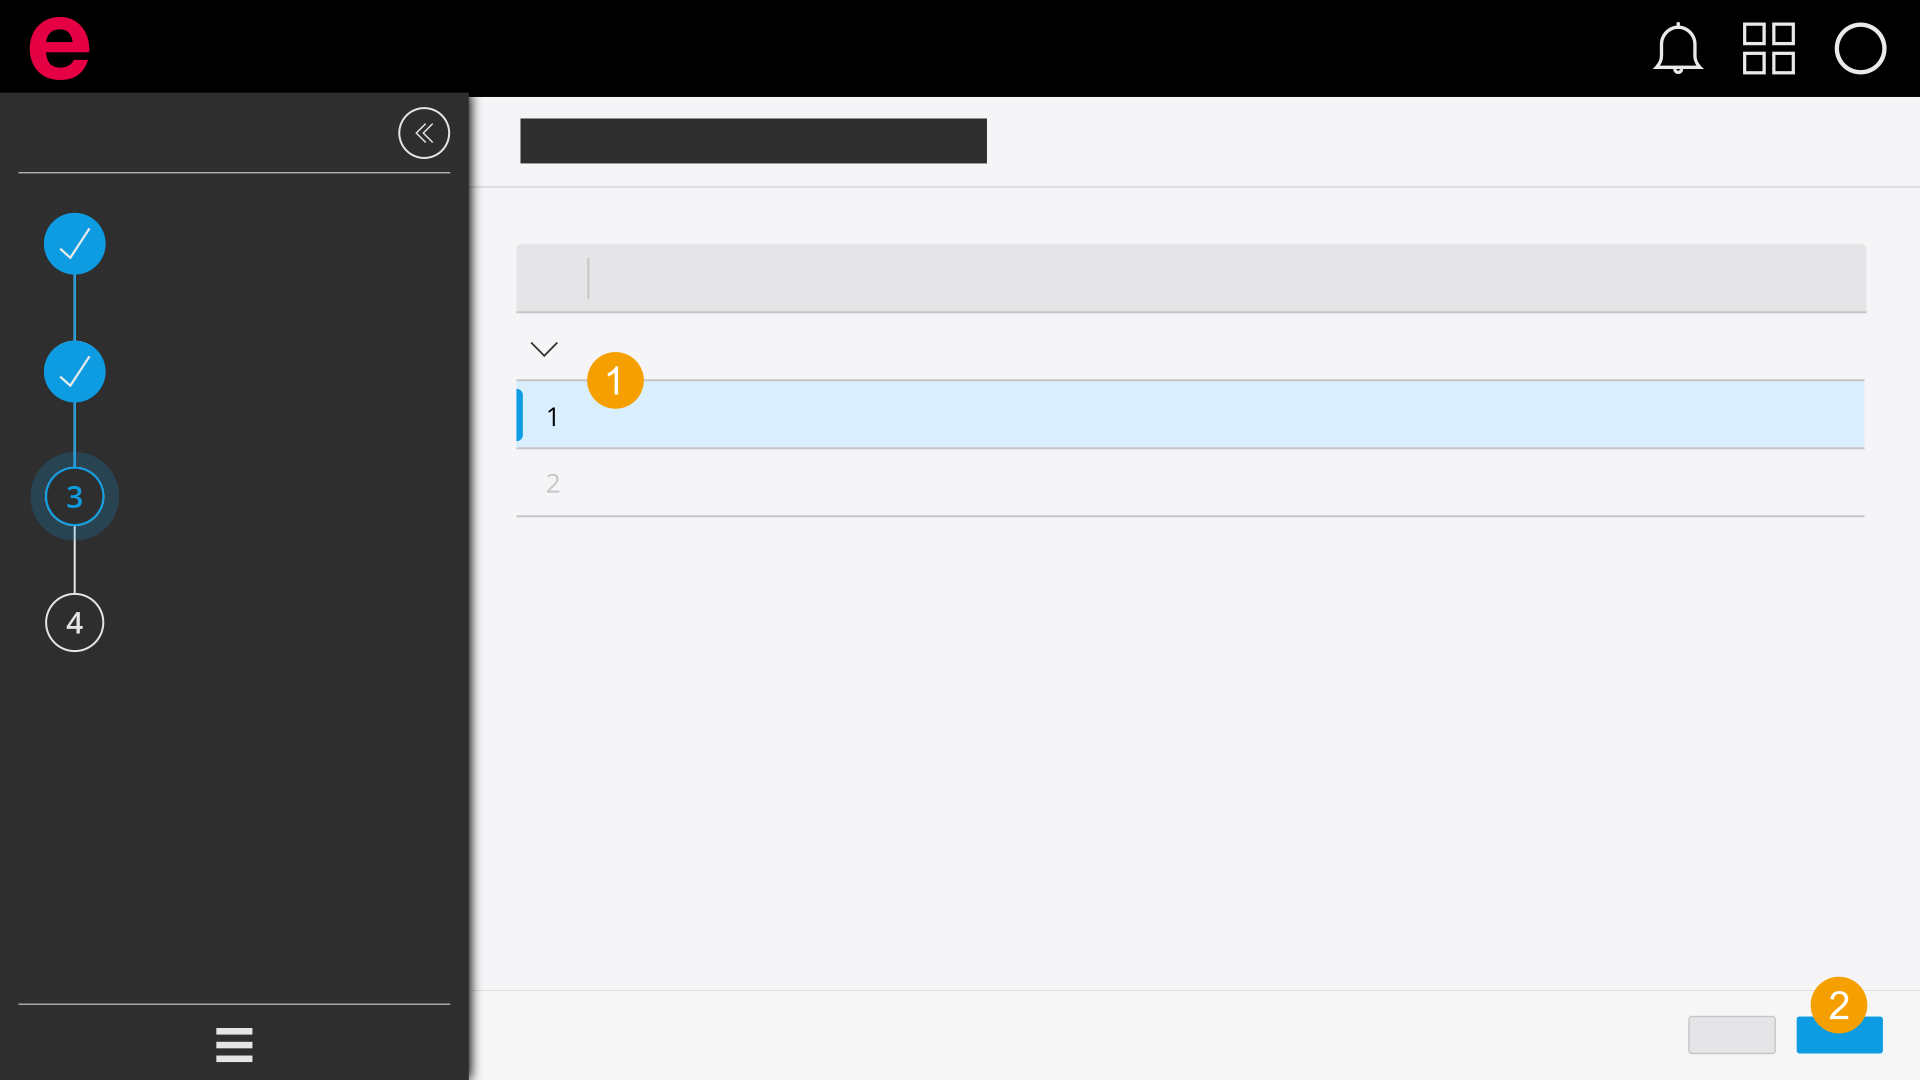
- Select a configurator in the selection area.
- Click Continue in the navigation bar.
Configurators that contain Script Typicals or Layout Space Typicals can only be used within an installed Eplan solution with local projects.
Configure and generate
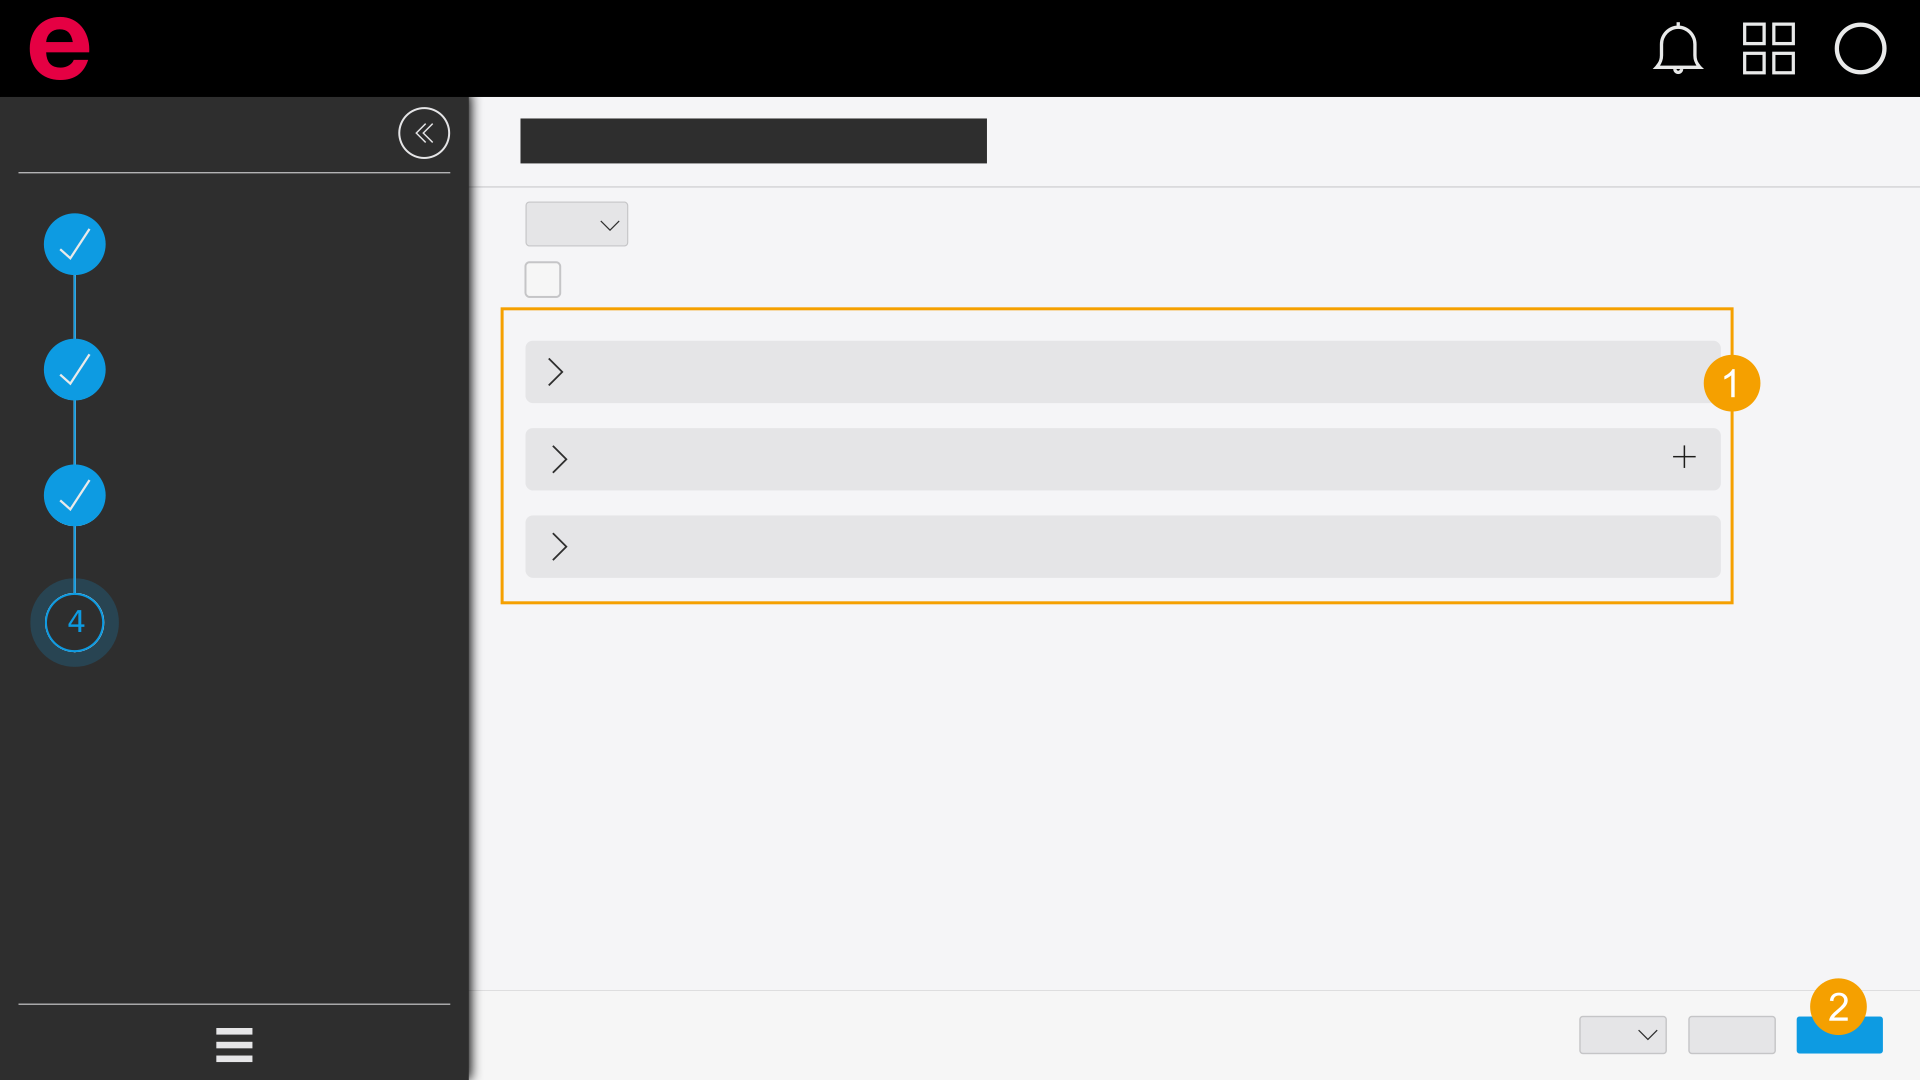
- Perform the configuration in the selection area. You have the following options:
- Enter values for the configuration variables. The values of the macro variables used are replaced by the values of the configuration variables during the generation of the project documentation.
- Specify whether macros are to be considered when the project documentation is generated. To this purpose activate or deactivate the check box of the corresponding macro.
- Enter the desired structure identifiers for the macros. After the project documentation has been generated, the structure identifiers are available in the page navigator of the Eplan Electric P8.
- Click Generate in the navigation bar.
- The project documentation is generated.
You can also import configurations. Further information is available here.
Note
- You must enter a value for all the variables that are marked as required
(*) . Otherwise, the project documentation will not be generated. Activate the check box Show only mandatory fields to display all required variables. - Elements whose usage has already been specified in Designer are not displayed in the Project Builder.
Tip
In the overview of the progress of the project generation, you can see at any time which library, which project and which configurator you have selected.